FreeBSD on RaspberryPi

RaspberryYou may have heard that ARM64 is now a tier-1 platform on FreeBSD 13. This basically means that this platform is now fully supported by the various FreeBSD teams. Seeing ARM supported as a tier 1 is really cool, since we can now play around with those ARM boards (RaspberryPi, BeagleBone, …) that were so far reserved to a selected set of Linux distributions. Being able to use an entirely different OS is refreshing.

In the last few weeks, I’ve devoted some of the very little free time that I have to try just that. I’ve installed FreeBSD on some RPi3 boards in the hope of replacing whatever they were doing before on Raspbian. If you insist you can use the video, but it’s very slow and totally unusable as a Kodi media-center. The reason being (as far as I understand) that the VideoCore drivers are a pain in the ass to port even from RPi Linux flavor to another, let alone on FreeBSD. So I wouldn’t expect improvement on that front for some time.

However as a network appliance or audio-only media-center, it works nicely. It’s just a matter of downloading the appropriate SD card image for your specific board (here and there), dd it to the SD card, boot with HDMI and USB keyboard, then configure your installation from there. Beware though, you should avoid editing the UFS partition of the image until it has been resized by growfs_enable=YES. In my case that triggered some naughty kernel panics (which I had no time to investigate thoroughly, oops).

I’ve also tried some unsupported platform such as the NanoPi R2S with mitigated success. I managed to boot on the serial interface and install some packages. But USB devices are not (or not always) showing, the driver for the second Ethernet interface is missing, and random kernel panics do happen. So I gave up for now and tried an RPi3 board instead.

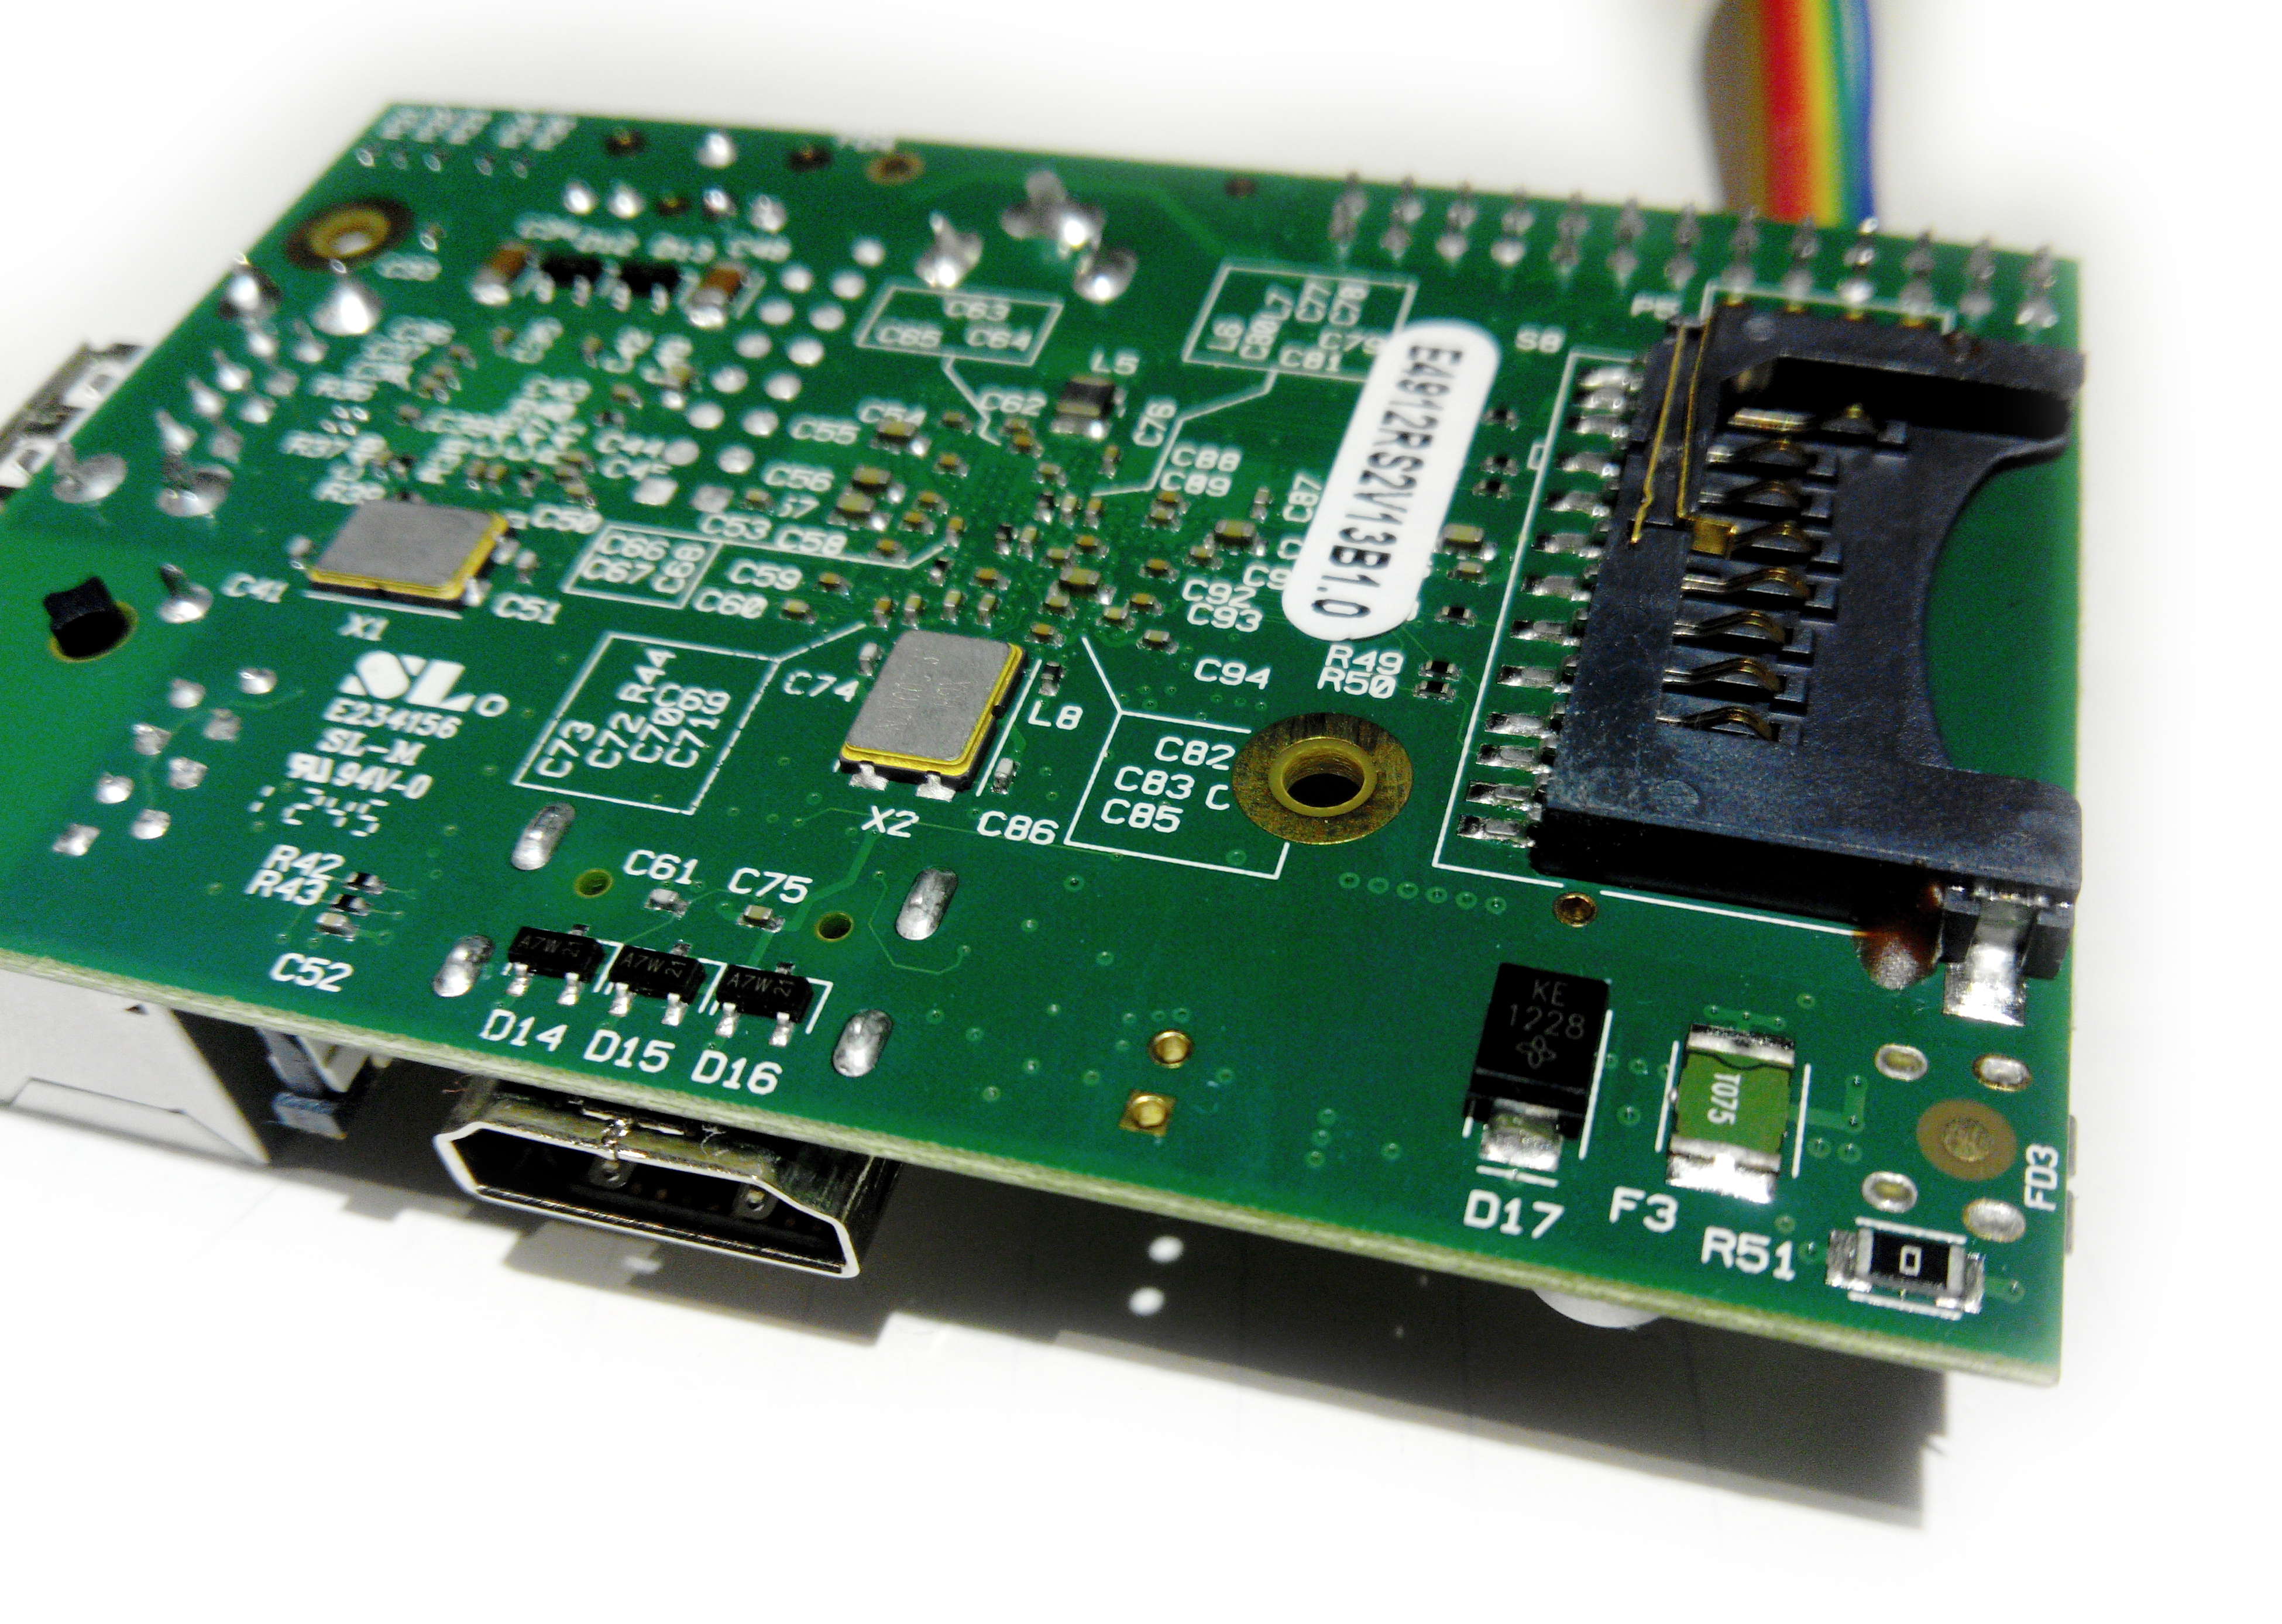
I also tried running it on a RaspberryPi 1 B+ v1.2. The reason I’m trying that is to replace my media-center setup, especially the audio part. The RPi1 should consume less power, is perfectly capable for the task at hand and I’ve got a lot of them lying around. Since the device will be always on, it should be a perfect replacement for the RPi3 I used so far. For this I had to use the RPi-B image. Contrary to the RPi3 which runs ARMv8 64-bit, RPi1 B+ is still an ARMv6 32-bit architecture and a tier-2 platform on FreeBSD.

One of the problem with the RaspberryPi is that there are a lot of different version nowadays and they all share similar names. For instance if you say RPi B+, is it RPi3 B+ from 2018, RPi1 B+ from 2014, a confusion with the RPi2 B v1.2 from 2016 or the RPi2 B? All these run on different SoC with different flavor of ARM from ARMv6 to ARMv8. You must pay attention to choose the correct image for your board. Use the Wikipedia’s RaspberryPi page to tell them apart, it’s very complete, especially the Specifications and Connectors sections.

ioctl mem-alloc FAILED

If while trying to play a video on the RaspberryPi, in particular with Kodi, the video doesn’t play and you get this error on the terminal:

[CGPUMEM]: ioctl mem-alloc FAILED [-1]

Then hopefully this post will help you.

You may have read elsewhere that you should increase your GPU memory in /boot/config.txt, then add gpu_mem=256.

But that’s not enough. You also need to increase the limit of the contiguous memory allocator. In /boot/cmdline.txt add the option cma=256M. Then reboot and you should be fine.

No more corruption on the RPi

I talked in a preceding post about corruption problems on my RPi’s SD-Card. I was told that 4.65V is very low for the RPi and that was probably the cause for the frequent corruptions of the SD-Card. Unfortunately new peripherals drop the voltage rather quickly on the RPi. Here are the voltage after each plugin in (cumulative):

  • None: 4.80V
  • Ethernet (internal – smsc95xx)4.77V
  • Ethernet (external – asix): 4.66V

So my first solution was to limit the stress on the SD-Card. I measured the IO bandwidth of various task with iotop -aoP. Turns out that most tasks accounted for only a handful to a hundred of kylobytes. These tasks are sporadic (dhcpd, rsyslogd and jbd for the most part) and in the end of the day accounted for less than 20MB read/write on the SD-Card.

On the other end an update (apt-get) account for around 80MB of writes. That’s a lot combined to increased CPU usage that further contributed to the voltage drop. With apticron running an update at least once a day, it’s not a wonder that the SD-Card got corrupted so quickly.

So my first solution was to put apt into a tmpfs. That is in /etc/fstab:

tmpfs /var/lib/apt   tmpfs noatime,nosuid,nodev,noexec,mode=755 0 0
tmpfs /var/cache/apt tmpfs noatime,nosuid,nodev,noexec,mode=755 0 0

And we don’t want packages to fill the cache. So we specify that the cache should be emptied after each package installation / upgrade. That is in /etc/apt/apt.conf.d/70no-cache:

DPkg::Post-Invoke { "/bin/rm -f /var/cache/apt/archives/*.deb || true"; };

This way an apt-get update does not solicit the SD-Card anymore. On the plus point updates are also faster. However there are two disadvantages with this solution:

  • You cannot upgrade after the system just rebooted. You need to rebuild the cache with apt-get update first. But that is not a problem as apticron does so automatically once a day.
  • The number of packages you can install / upgrade at once depends on their size and the size of the tmpfs. But it is OK if you frequently upgrade your system on stable.

But that is probably not enough to avoid corruption on the SD-Card. Or at least this is what I thought. So the other solution was to find a way to raise the voltage from 4.66V to a reasonable value. The F3 polyfuse that protects the board has a noticeable resistance causing a voltage drop of ~0.2V.

The F3 polyfuse (green) is located at the bottom right of the board, next to the zero ohm resistor.

The F3 polyfuse (green) is located at the back bottom right of the board.

I soldered the polyfuse and the voltage raised to 4.85V. Did not have any corruption problem since more than a month. Fantastic!

However remember that the fuse is there for a reason. It limits the maximum amount of current powering the board. Without the polyfuse the RPi can ask more current than the PSU is rated for (which can happen for example if you short the GPIOs). So it might be a better idea to try another power supply or USB cable. I just like to live dangerously. I also protected those RPi with a case. Note that the RPi B+ and newer have a new power supply circuitry with a lower voltage drop. So all of this may not be needed.

Constant SD-Card corruption on the RPi

Our home servers broke. Here we are again.

I spent weeks of my time, countless evenings up to 4AM, entire weekends since months trying to design and configure our reborn home-servers and gateways.

And it was neat.

  • DNSSEC all the way down
  • RPC accross the nodes
  • Easy configuration
  • Caching and stuff
  • Automatic tests

It took me a lot of time to assemble all of this in something that I liked. And to document everything so that we could easily install a new node from scratch.

I installed two nodes and it worked well for several weeks. Until a week ago or so I started to see corruption on the first node. And by corruption I mean random garbage in a lot of binaries and libraries. Exec format error at every corner. At this point it was completely broken and useless so the only option was to reinstall it.

So I used a new SD-Card, changed the power supply and reinstalled everything last weekend. Just finished today and also fixed bugs in some of our scripts. Had to search for a package on the second node which at this point was still in a pretty good shape.

$ apt-cache
zsh: exec format error: apt-cache
$ su
zsh: exec format error: su

Dang! So there goes another weekend I will spend to reinstall the thing. And who knows how long until the first node gets corrupted again.

Checked the TP1-TP2 voltage, 4.65V, probably because of the second USB Ethernet adapter. I tried to limit the amount of writes on the SD-Card. No heavy writers, no swapping, no overclocking.

So I must be doing something wrong, right? Right?! The RaspberryPi can be that unreliable. I wonder how many power supplies and SD-Cards I will have to buy and try until, by sheer luck, I do not have to reinstall everything in the following three months or so.

I ran into this problem years ago. And now it seems that I will run in the same problem over and over again. Any recommendation is welcome of course. Though to be honest, for now, I just want to fly the damn thing across the room.

Raspberry Pi Ethernet speed

I’ve been a long time user of IPv6 tunnels from SixXS to provide an access to the IPv6 Internet behind my ISP. These tunnels also allow me to use static IP addresses for my home servers along with static AAAA records and this is cool !

Currently I use several Debian GNU/Linux based soft-routers with two (100 and 1000) Ethernet ports. These are often running on old recycled laptops which consumes around 40 Watts of power at peak level. Next to that the ARM Raspberry Pi platform consumes around 3 Watts of power (though I still have to measure it by myself). So I thought about replacing all my home-routers with those.

However the Raspberry Pi model B uses a SMSC LAN951x chip which includes the USB 2.0 Hub and an 10/100 Ethernet controller on top of it (which is known as smsc95xx in the Linux kernel). My  main concern was that it would not be fast enough to support the IPv6 tunnel at its peak bandwidth of 60Mbps (that is 30Mbps downstream/upstream).

I already use one RPi as an experimental home-router here. Our Internet bandwidth is a bit slow (12Mbps) so the USB-Ethernet  shouldn’t be a problem. I’ve conducted quick tests with IPerf and as you can see the results are pretty good as long as it doesn’t involve I/O on the RPi.

------------------------------------------------------------
Server listening on TCP port 5001
TCP window size: 85.3 KByte (default)
------------------------------------------------------------
[ 4] local 10.0.0.1 port 5001 connected with 10.0.0.3 port 37373
[ ID] Interval Transfer Bandwidth
[ 4] 0.0-10.1 sec 114 MBytes 94.4 Mbits/sec
[ 5] local 10.0.0.1 port 5001 connected with 10.0.0.3 port 37376
[ 5] 0.0-10.1 sec 114 MBytes 94.5 Mbits/sec
[ 4] local 10.0.0.1 port 5001 connected with 10.0.0.3 port 37377
[ 4] 0.0-10.1 sec 114 MBytes 94.6 Mbits/sec
[ 5] local 10.0.0.1 port 5001 connected with 10.0.0.3 port 37378
[ 5] 0.0-10.1 sec 114 MBytes 94.5 Mbits/sec